

You need to determine your stance, or binding adjustments, before you mount your bindings on a snowboard. If your stance is too narrow, you’ll tip over like a pencil placed on its point on a table. If your stance is too wide, you’ll resemble a triangular kite and won’t be able to turn. Although many riders set up their snowboards with the wrong stance, today’s boards offer a multitude of stance settings. When considering your stance for stability and speed, various factors, such as your height, style of skiing and skill level, come into play.
Regular or Goofy
The first thing to figure out is which foot leads. Most snowboarders place their right foot in the back, or the regular stance. Some riders reverse the position, known as the goofy stance, in which they place their left foot in the back. To determine your lead foot, slide across the floor in socks or have someone push you from behind. The foot used to brace yourself will be your driving foot. As per the width of the bindings, it should run the length of distance between the back of your knee and the floor or approximately shoulder-width apart.
Stance Angles
There’s a disk on the snowboard which indicates the degree of slant of your foot on the board. It’s marked in intervals of three degrees. At a zero-degree angle, your foot runs straight across the middle of the board. At higher angles, your foot will point more toward the front of the board. Advanced snowboarders tend to use higher angles and narrower boards, which are faster edge to edge. Low binding angles provide more stability. It’s easier to balance and rotate the board. Riders who engage in extreme carving – extreme body angles and high speed turns – tend to set their left foot at 55 degrees and their right at 48 degrees. To a great extent, you’ll adjust your stance according to personal preference. People with narrow boards are forced to use angles of 60 degrees or higher, according to The Carvers Almanac 2007 website.
Binding Adjustments for Novice Riders
The beginner’s stance typically ranges from 15 to 20 degrees for the front foot and anywhere from negative 10 to 15 degrees on the other foot, according to “Snowboarding: Learning to Ride from All-Mountain to Park and Pipe” by Liam Gallagher. For example, try 15 degrees on your front foot and 6 degrees on the back foot, and then adjust the settings to 20 degrees and 9 degrees, respectively. If you set the angle of the back foot to zero, you’ll put a lot of pressure on your rear leg muscles. Slide into your boots, lace up, strap in and wriggle. Perform a few jumps and squats to see if the stance feels comfortable. Make sure your toes or heels don’t extend over the board’s side edges. If your toe or heel drags in the snow, it’ll have the similar effect of a boat dragging its anchor in water.
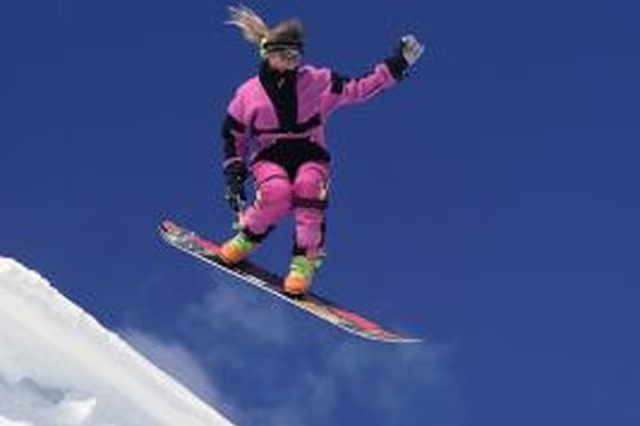
Skiing Style and Types of Terrain
If you’re freeriding at faster speeds, set your stance at higher angles with your feet pointing forward. This same principle applies to riding in deep powder snow where you’ll need maneuverability to perform quick turns around obstacles, such as trees. When you’re freestyling, in which you’ll be doing spins, jumps and tricks, use a duck stance. Both feet are set at the same angle, albeit in opposite directions. For example, set the angle of your front foot anywhere from 15 to 21 degrees forward and your other foot at the same angle, only backwards. The duck stance enables you to move forward and backward in both directions.