Carving can be one of the most fun and intense parts of snowboarding. The more speed you gain and the lower to the ground you carve, the more of a rush you feel. Carving is a natural progression after mastering your basic turns, so you'll probably pick up on it quickly. As you feel more comfortable, you'll advance to deeper and faster carves.
Using Your Edges
Practice balancing on your toeside and heelside edges at the bottom of the hill. Bend your knees, push them forward and apply pressure to your toes to get up onto your toe edge. Apply weight to your heels and push your butt back to balance on you heelside edge. You'll use these same techniques at high speeds to dig your edges into the ground and carve.
Getting Comfortable With Speed
Before you start carving fast down the hill, you'll need to get comfortable with gaining speed and stopping. Start with the nose of your board facing downhill and bend your knees so you're riding in an athletic stance. Lean forward to start moving downhill, and you'll soon be gaining speed. If you ever feel out of control or gain too much speed for your comfort, turn the snowboard perpendicular to the fall line of the hill and apply pressure to your heels. Remember that you can always slow yourself down and stop when you start to carve fast.
Start Carving
Head to an uncrowded intermediate run where you can gain some speed without any obstacles or moguls. Make sure you always keep an eye uphill when practicing your carving because you'll be using a lot of space on the hill. With the nose of your board facing downhill, lean forward to gain speed. Once you're moving at a moderate speed, lean into your toe edge, bend your knees and push them down toward the snow. Carve until you start to come back up the hill, then straighten your body at the end of the turn to slow yourself down and come to a stop. Now try the same carving turn on your heelside edge. Gain moderate speed, and apply pressure to your heels. Sit your butt down toward the snow to get up onto your toe edge, then carve uphill to slow yourself down as you complete the turn. Look back after you complete each track to make sure it is a thin, deep line in the snow. This mean's you're carving your turn on edge.
Link Turns at Speed
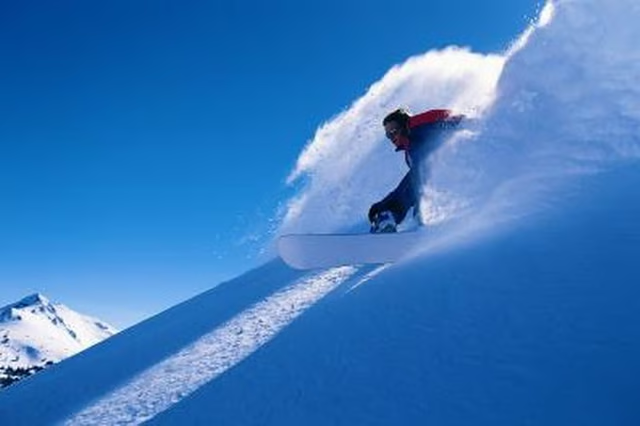
To gain speed while carving, you'll need to properly link your toeside and heelside turns. Point your board downhill and lean forward to gain speed. Once you've reached a high speed that is still comfortable, lean onto your toeside edge and bring the board up onto its edge with your knees nearly touching the snow. When you reach the end of the turn, straighten out your body like before, but don't carve uphill to slow yourself to a stop. Immediately transfer your weight to your heels and push your butt down toward the snow to start carving the other direction. As you progress down the hill, you'll gain more speed with each turn. Advance to steeper terrain as you feel more comfortable linking your turns, and don't forget that you can always slow to a stop by carving uphill if you feel out of control.